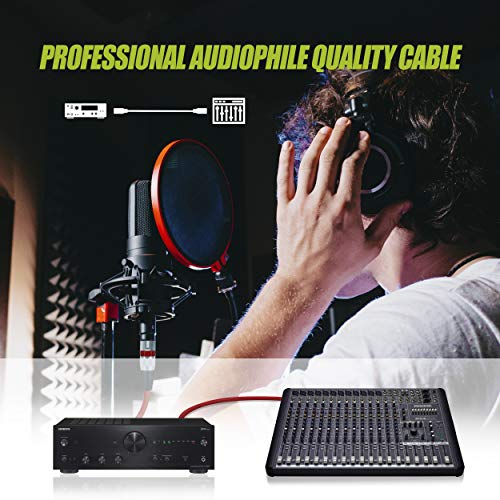
Understanding Signal Integrity and Shielding
The most critical factor when selecting a patch cable is its ability to reject electromagnetic interference (EMI) and radio frequency interference (RFI). In a studio setting, where power cables and digital equipment are often packed tightly together, a poorly shielded cable acts like an antenna, sucking in hum and buzz. When looking at GLS options, prioritize cables with high-density braided shielding. A robust shield ensures that your high-impedance signals remain clean from the input jack to the mixer or interface. If you are working in a high-density rack environment, the quality of this shielding will determine whether your recordings are pristine or plagued by a constant 60Hz hum.
Connector Quality and Mechanical Durability
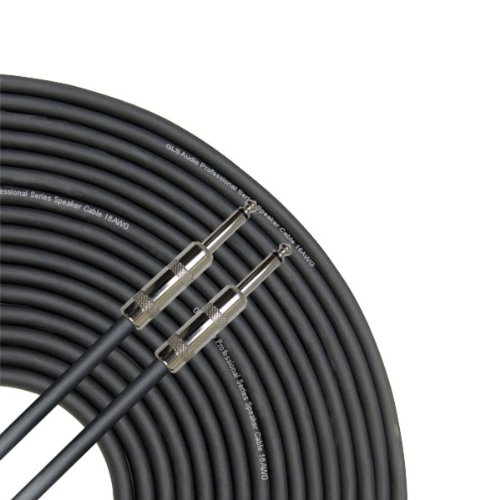
Patch cables undergo significantly more physical stress than standard instrument cables. They are frequently plugged, unplugged, and rerouted during session changes or live performances. Therefore, the connectors are just as important as the wire itself. Look for connectors that utilize high-quality plating—such as gold or silver—to prevent oxidation over time. Oxidation leads to increased resistance and intermittent signal loss. Furthermore, consider the strain relief design. A well-constructed patch cable will have a flexible yet sturdy transition point between the cable jacket and the connector housing, preventing the internal copper strands from snapping due to repeated bending.
Cable Jacket Material and Flexibility
The environment in which you use your cables dictates the type of jacket material you should seek. In a permanent studio patch bay, you might prioritize a cable that is thin and highly flexible, allowing for tight bends in cramped spaces behind a rack. However, if these cables are intended for touring or mobile setups, you need a jacket that is resistant to abrasion, oils, and temperature fluctuations. A TPE (Thermoplastic Elastomer) or high-grade PVC jacket provides a balance of flexibility and toughness. Avoid overly stiff cables in patch bays, as they can exert 'leveraged tension' on the jacks, potentially damaging your expensive hardware over time.
Length and Impedance Considerations
While patch cables are typically short, the length still matters. In a patch bay, every extra inch adds a tiny amount of capacitance, which can slightly roll off high-frequency response in certain sensitive circuits. Always choose the shortest length possible for the task to minimize signal loss. When selecting cables for specific applications, ensure the impedance is matched to your gear. While most standard patch cables are designed for general-purpose use, specialized routing may require specific attention to the gauge of the internal conductors to maintain signal velocity and clarity.
Summary Recommendation Logic
To make the best decision, follow this logic: If you are organizing a permanent studio patch bay, prioritize ultra-flexible, slim-profile cables with high-quality gold-plated connectors to ensure longevity and ease of routing. If you are building a mobile touring rig, prioritize heavy-duty, abrasion-resistant jackets and reinforced strain relief. Regardless of the application, never compromise on the shielding quality. A cheap cable is a wasted investment if it introduces noise into your professional signal chain.