Understanding Connector Types and Impedance
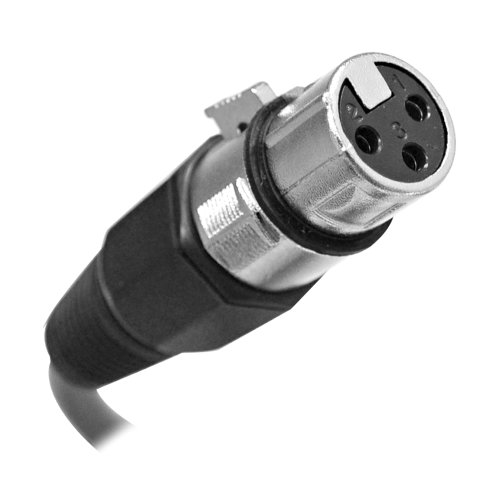
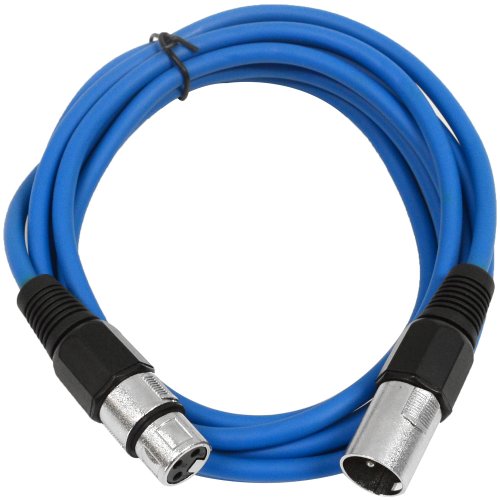
The first step in selecting a Seismic Audio patch cable is identifying the physical interface of your equipment. Patch cables are not one-size-fits-all. They are defined by their connectors. For professional audio, you will most commonly encounter XLR connectors for balanced microphone signals, 1/4-inch TS (Tip-Sleeve) for unbalanced instrument signals, and 1/4-inch TRS (Tip-Ring-Sleeve) for balanced line-level or headphone signals. When choosing a cable, ensure the connector type matches your patch points exactly. Using an unbalanced TS cable where a balanced TRS cable is required can lead to significant electromagnetic interference (EMI) and ground loops. Pay close attention to the build quality of the jack itself. Look for gold-plated or nickel-plated connectors that offer high conductivity and resistance to oxidation, which prevents the 'crackling' sound often heard when cables are moved.
Balanced vs. Unbalanced Signal Paths
A critical decision factor in your purchase is whether the cable is designed for balanced or unbalanced transmission. Balanced cables (typically XLR or TRS) use three conductors to carry the signal and a ground, allowing the receiving device to cancel out noise picked up along the cable run. This is essential for long cable runs or environments with heavy electrical interference, such as stages with complex lighting rigs. Unbalanced cables (typically TS) use two conductors and are more susceptible to noise. If you are patching short distances within a rack, an unbalanced cable may suffice, but for any signal path traveling more than a few feet, opting for a balanced Seismic Audio cable is the safer, more professional choice to maintain a high signal-to-noise ratio.
Cable Construction and Shielding Integrity
The 'meat' of the cable—the internal wiring and shielding—determines its durability and sonic transparency. High-quality patch cables feature thick copper conductors that facilitate efficient signal transfer without excessive capacitance. Capacitance can act as a low-pass filter, inadvertently rolling off your high-end frequencies if the cable is poor quality. Furthermore, look for robust shielding. A braided copper shield is generally superior to simple foil shielding, as it provides better protection against low-frequency hum and radio frequency interference (RFI). Because patch cables are frequently plugged, unplugged, and coiled, the outer jacket material is also vital. A heavy-duty PVC or specialized rubber jacket provides the flexibility needed for tight rack spaces while offering the abrasion resistance required for touring environments.
Length and Flexibility Considerations
In a patch bay or studio rack, space is a premium. Selecting a cable that is too long creates 'cable spaghetti,' which restricts airflow and makes troubleshooting a nightmare. Conversely, a cable that is too short will put undue mechanical stress on your equipment's input jacks, potentially damaging the internal solder points of your expensive gear. When selecting your length, aim for the shortest possible distance that allows for a comfortable bend radius. Flexibility is key here. A stiff cable will fight against you in a crowded rack, whereas a highly flexible cable allows for clean, organized routing that improves both the aesthetics and the thermal management of your audio setup.