How to Choose Hiking Boots for Comfort and Support
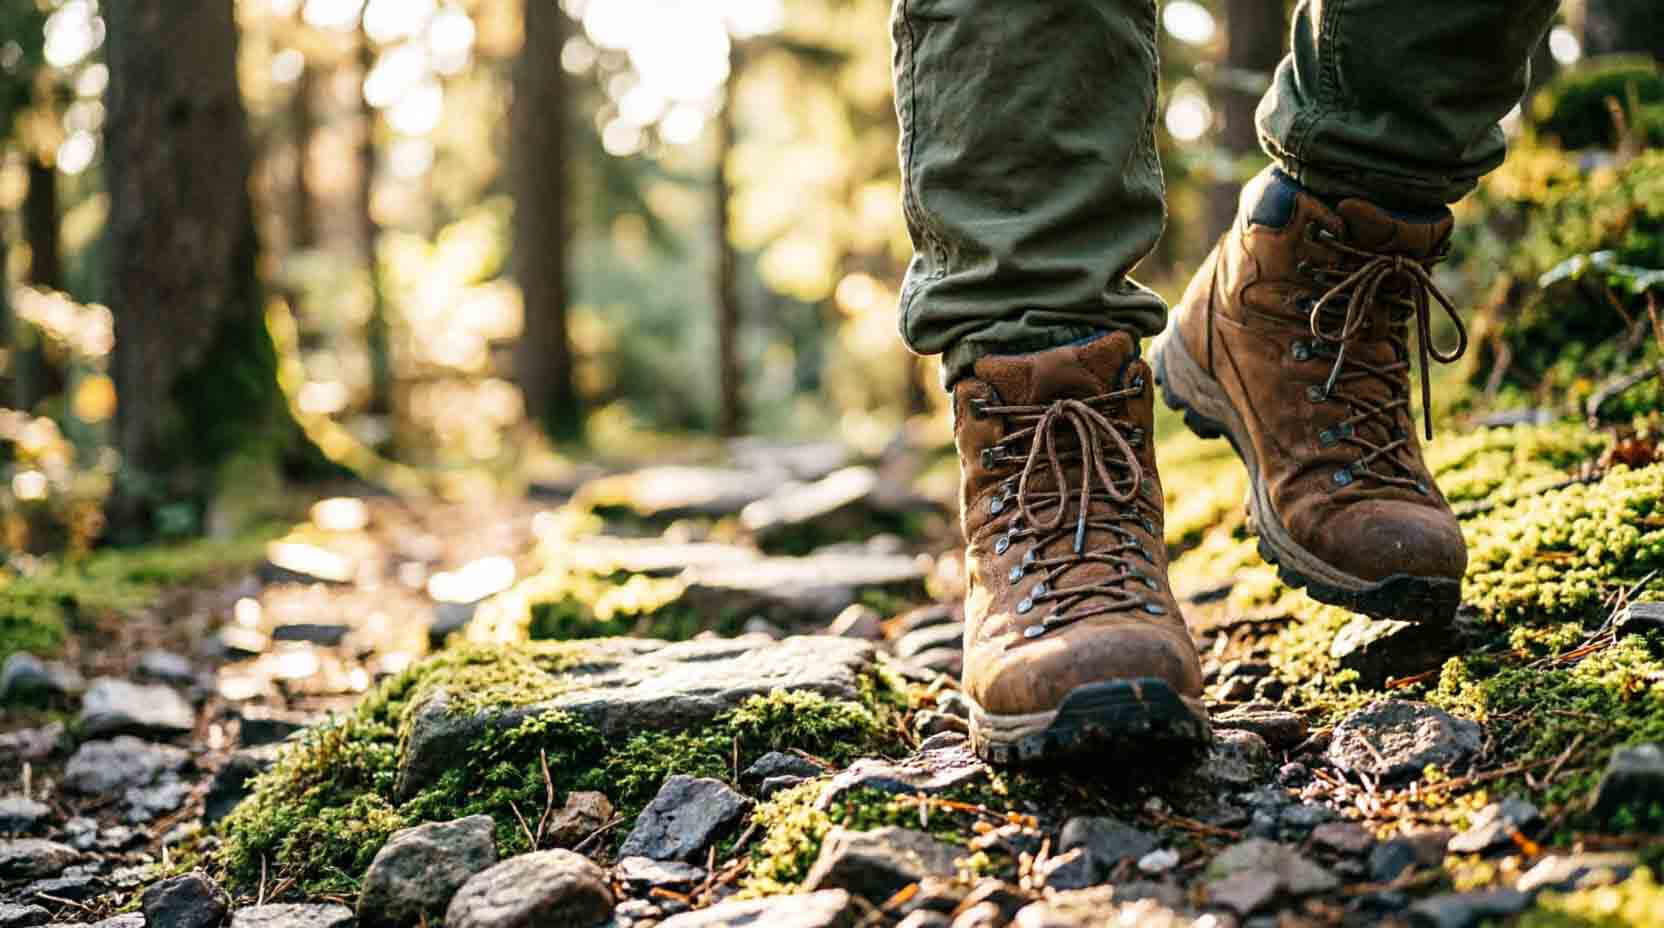
The single biggest predictor of hiking boot comfort isn't the brand or the price. It's whether the boot's last (its internal shape) matches your specific foot, checked before any break-in begins. No amount of wearing in fixes a boot that's fundamentally the wrong shape or size. It only softens materials and forms flex points around a fit that was already right.
A note on the figures in this guide: Break-in mileage, fit-check measurements, and material trade-offs below reflect ranges commonly reported by boot manufacturers, gear reviewers, and outdoor retailers, not a single lab test of one product. Individual feet and boots vary, so treat these as starting guidance, not a guarantee.
The short version: check fit with a warmed-up foot and real hiking socks before anything else, match boot height to your terrain and pack weight, budget real break-in miles based on material (synthetic boots need far less than leather), and don't assume "waterproof" is free. It trades against breathability every time.
Getting the Fit Right Before You Buy
A boot that's the wrong size or shape can't be fixed by breaking it in. It can only be tolerated longer before the same pain returns. Get this right first.
The 3-Point Fit Check
- Thumb's-width toe check: With the boot laced normally, you should be able to fit roughly a thumb's width between your longest toe and the front of the boot. Less than that, and your toes will jam into the front on downhills. Noticeably more, and your foot will slide forward and cause blisters.
- Heel-lock check: Slide your index finger into the boot just behind your heel while your foot is pushed forward. It should fit snugly with minimal wiggle room. If your heel lifts noticeably when you walk, especially uphill, that's a sizing or lacing problem, not something break-in will resolve.
- Width and pressure-point check: Walk around the store (or your living room, for online orders) and check for any pinching across the widest part of your foot. A boot that feels fine standing still but pinches while walking is the wrong width, not the wrong break-in stage.
Try boots on with your feet warmed up and wearing the actual socks you'll hike in. Feet swell over the course of a day and during exercise, so a boot fitted to a cold, resting foot in thin socks will feel noticeably tighter on the trail. Many outdoor retailers recommend a short walk before trying boots on for exactly this reason.
Matching Boot Height and Support to Your Terrain
Boot height isn't a style choice. It's a direct trade-off between ankle support and weight/flexibility.
|
Boot Height |
Best For |
Trade-off |
|
Low-cut (trail shoe style) |
Day hikes, well-maintained trails, light packs |
Minimal ankle support. Lightest and most flexible option |
|
Mid-cut |
Most day hikes and light overnight trips, moderate terrain |
Balances support and weight. The most common all-around choice |
|
High-cut (traditional boot) |
Backpacking with a loaded pack, rocky or uneven terrain, off-trail travel |
Heaviest and stiffest. Best ankle stability under load |
Scenario anchor: A day hiker on maintained trails with a light daypack is generally well served by a low- or mid-cut shoe. The added weight of a high-cut boot isn't buying much benefit for that use case. A backpacker carrying 30+ lbs over uneven, rocky terrain benefits measurably from a high-cut boot's ankle support, since a loaded pack raises your center of gravity and increases the consequences of a rolled ankle.
Waterproofing vs. Breathability: The Trade-off You Can't Skip
Waterproof membranes (Gore-Tex, eVent, and brand-specific equivalents like KEEN.DRY) and breathability are in direct tension. Improving one generally costs you some of the other. A waterproof membrane blocks external water from getting in, but that same barrier also restricts airflow, which means your feet run warmer and sweat more inside a waterproof boot than a non-waterproof one under the same conditions.
Expect a genuinely waterproof boot to feel noticeably warmer on dry, hot-weather hikes than a non-waterproof mesh boot. This isn't a defect. It's the physical trade-off of the membrane doing its job. Waterproofing also has a real limit: it protects against splashes, puddles, and wet grass, but water entering from the top of the boot (fording a creek above ankle height, for example) will still get your feet wet regardless of membrane quality.
Rule of thumb: if most of your hiking is in warm, dry conditions, prioritize breathability over waterproofing. If you regularly hike in rain, mud, or snow, or in cooler climates where wet feet mean genuinely cold feet, waterproofing is worth the breathability trade-off.
Break-In Time by Material: What to Actually Expect
Break-in time is primarily a function of material, not brand or price, and budgeting the wrong amount of time before a big trip is one of the most common and preventable mistakes hikers make.
|
Material |
Typical Break-In Distance |
Why |
|
Synthetic (nylon/mesh uppers) |
5–10 miles |
Lightweight, flexible materials that need minimal softening |
|
Nubuck or split leather |
10–20 miles |
Softer, brushed leather finish that's more pliable than full-grain |
|
Full-grain leather |
20–50 miles |
Thick, dense leather built for durability, which takes longer to conform to your foot |
Real-world guidance: if you're planning a major hike or backpacking trip, buy boots at least a month ahead and wear them regularly around the house, on errands, on short local walks building up to longer distances before the trip itself. Showing up to a multi-day hike in boots straight out of the box is one of the most common causes of trip-ending blisters, regardless of how good the boot is on paper.
Watch out for this distinction: if you're still getting pain in the same spot after putting in the material-appropriate break-in mileage above, that's a signal the boot's fit is wrong for your foot shape — not that you haven't broken it in enough. Persistent heel lift, toe pain on descents, or pain along the width of your foot after adequate break-in mileage means it's time to try a different last, not more patience.
Midsole and Outsole: What Actually Affects Comfort and Grip
The midsole (the cushioning layer between your foot and the outsole) does most of the work in long-day comfort, while the outsole determines grip. EVA foam midsoles are lighter and more cushioned but compress and lose support faster over time. Polyurethane (PU) midsoles are firmer, heavier, and hold their support longer, which is why many backpacking-focused boots lean PU despite the weight cost.
A shank, a rigid or semi-rigid insert between the midsole and outsole, adds torsional stability and prevents the boot from flexing under a loaded pack or on uneven rock. Lighter day-hiking boots often skip this for weight savings, which is a reasonable trade-off for their intended use but a real limitation if you load them with a heavy pack anyway.
Socks and Insoles: The Overlooked Half of the Fit Equation
The boot isn't the whole system. Socks and insoles change how a given boot actually fits and feels, and most buying guides skip this entirely. Wearing a thinner sock than you tried the boot on with adds effective volume inside the boot, which can turn a snug, correct fit into a sloppy one with heel lift. A thicker sock does the reverse, tightening a boot that fit fine in the store.
Material matters as much as thickness: wool and synthetic blends wick moisture away from the foot, while cotton holds sweat against the skin, a real factor in blister formation, since damp skin softens and blisters more easily than dry skin under friction. Bringing your actual hiking socks to a fitting, rather than trying boots on with whatever you're wearing that day, is a simple step that prevents a common and avoidable fit mismatch.
Stock insoles are a starting point, not a fixed feature. Aftermarket insoles with better arch support or cushioning can meaningfully improve comfort in an otherwise well-fitting boot, and are worth the modest added cost if you have a specific arch-support need, but they won't fix a boot that's fundamentally the wrong size or shape, which is why fit still comes first.
The PickSmartly Boot Fit Formula
Before buying any hiking boot, confirm three things in order:
- Fit first: Does it pass the 3-Point Fit Check above with your actual hiking socks, on a warmed-up foot? If not, no break-in will fix it. Try a different size or last.
- Height matches your terrain and load: Does the boot's height (low/mid/high) match your typical trip type and pack weight, not just what looks the part?
- Break-in budget matches your timeline: Does the material's typical break-in mileage fit comfortably before your next big hike, with room to spare if it runs long?
If any of the three fails, you're not ready to buy a boot that's right on two of three still sets you up for a bad trip.
Who Should Not Buy Each Type (Honest Drawbacks)
- Skip full-grain leather boots if you need trail-ready footwear on short notice. A genuine 20–50 mile break-in period doesn't compress just because your trip is next weekend.
- Skip high-cut, heavily built boots for light day hikes on maintained trails. The extra weight and stiffness cost more in fatigue than the ankle support gives back for that use case.
- Skip waterproof boots as a default if most of your hiking is warm and dry. You're paying a real breathability and heat cost for protection you won't often need.
- Skip buying boots online without checking a fit-verified size from a previous pair or in-store try-on. Sizing varies enough between brands and even between models from the same brand that a "usual size" assumption is a common source of returns.
- Skip assuming persistent pain after full break-in mileage will resolve with more time. That's a fit problem, not a break-in problem, and continuing to push through it risks real injury.
Where to Go Next
Once you've confirmed fit, height, and material fit your terrain using the framework above, browse PickSmartly's Sports & Outdoors category to apply this framework to specific in-stock options.
For more on how PickSmartly evaluates and scores individual products, see our scoring methodology page.
Frequently Asked Questions
How do I know if hiking boots fit correctly?
Check for roughly a thumb's width of space in front of your longest toe, a heel that stays locked in place without lifting when you walk uphill, and no pinching across the widest part of your foot while walking, all checked with the actual socks you'll hike in, on a warmed-up foot.
How long does it take to break in hiking boots?
It depends heavily on material: synthetic boots typically need 5–10 miles, nubuck or split leather 10–20 miles, and full-grain leather 20–50 miles. Buy boots at least a month before a major trip and wear them regularly to build up mileage gradually.
Do I need waterproof hiking boots?
Only if you regularly hike in wet, muddy, or cold conditions where wet feet are a real problem. Waterproof membranes trade away some breathability, so for warm, dry-weather hiking, a non-waterproof or more breathable boot is often the more comfortable choice.
What's the difference between low-cut, mid-cut, and high-cut boots?
Low-cut shoes are lightest and most flexible but offer minimal ankle support. Mid-cut boots balance support and weight for most day-hiking use. High-cut boots offer the most ankle stability, which matters most under a loaded backpacking pack or on rough, uneven terrain.
Why do my boots still hurt even after breaking them in?
If pain persists in the same spot after putting in the material-appropriate break-in mileage, that typically means the boot's shape doesn't match your foot, not that it needs more time. Persistent heel lift, toe pain on descents, or width-related pain are signs to try a different fit rather than push through.
Is a more expensive hiking boot always more comfortable?
Not necessarily. Price often reflects materials, durability, and brand rather than a guaranteed fit for your specific foot. A mid-priced boot that matches your foot shape well will generally outperform an expensive boot that doesn't, comfort-wise.